The holiday season is around the corner, and what better way to add a personal touch to your decorations than by crafting your own handmade felt ornaments? In this step-by-step guide, we’ll take you through the process of creating charming felt ornaments that will bring warmth and joy to your festivities. Let’s dive into the world of felt crafting!
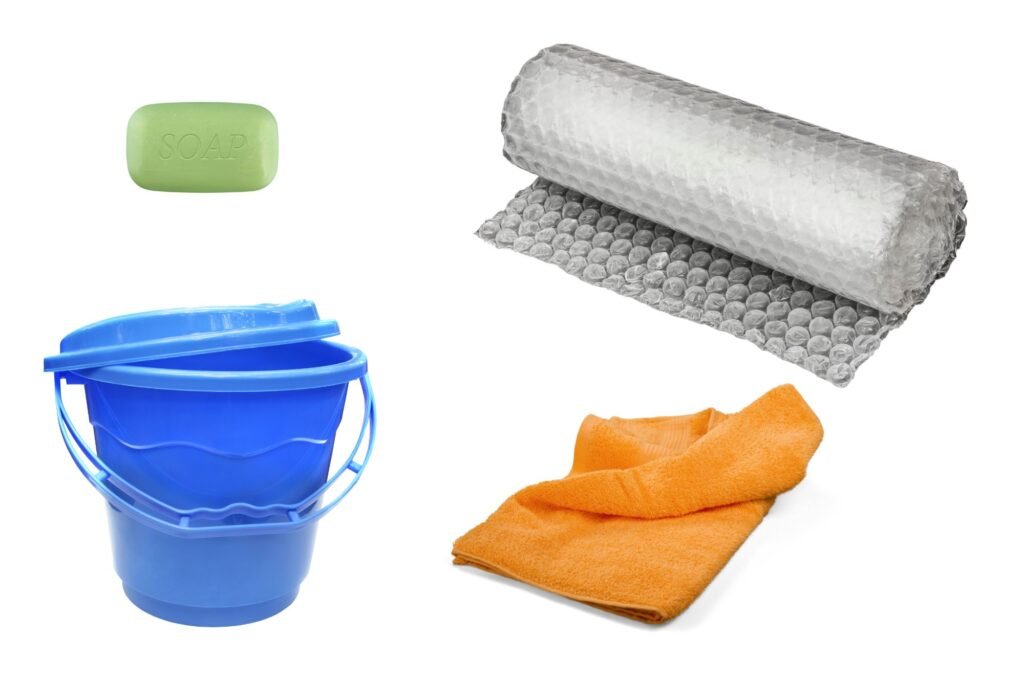
Materials You’ll Need:
High-quality wool roving in your desired colors.
Soap (liquid or bar) – preferably mild and unscented.
Water.
Bubble wrap.
Towels.
Felting needles (optional, for adding details).
Cookie cutters or stencils for shaping (optional).
Step 1: Prepare Your Workspace
Find a flat and clean surface to work on. Lay down a plastic sheet or bubble wrap to prevent any mess. Keep your towels nearby for the felting process.
Step 2: Create the Base Shape
Pull apart a small amount of wool roving and gently shape it into a ball or the desired base shape for your ornament.
For added structure, you can place a cookie cutter or stencil on the base shape and layer more wool on top, following the shape.
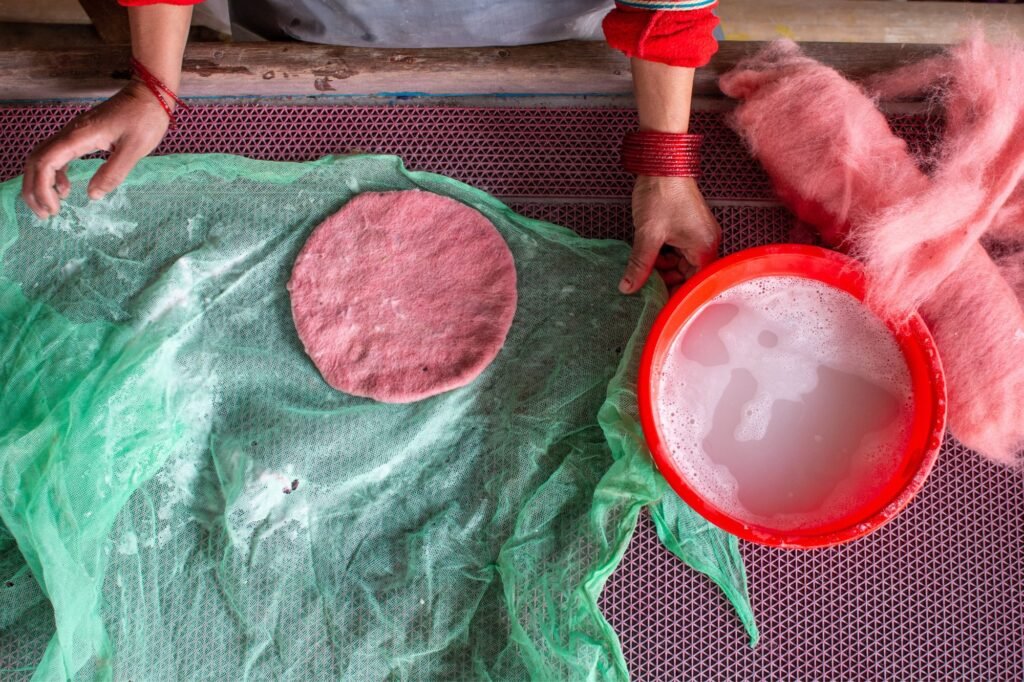
Step 3: Wet Felting
In a bowl, mix warm water and a small amount of soap to create a soapy solution.
Dip your base shape into the soapy water and gently squeeze to saturate the wool.
Place the wet wool on the bubble wrap. If using a stencil, place it on top.
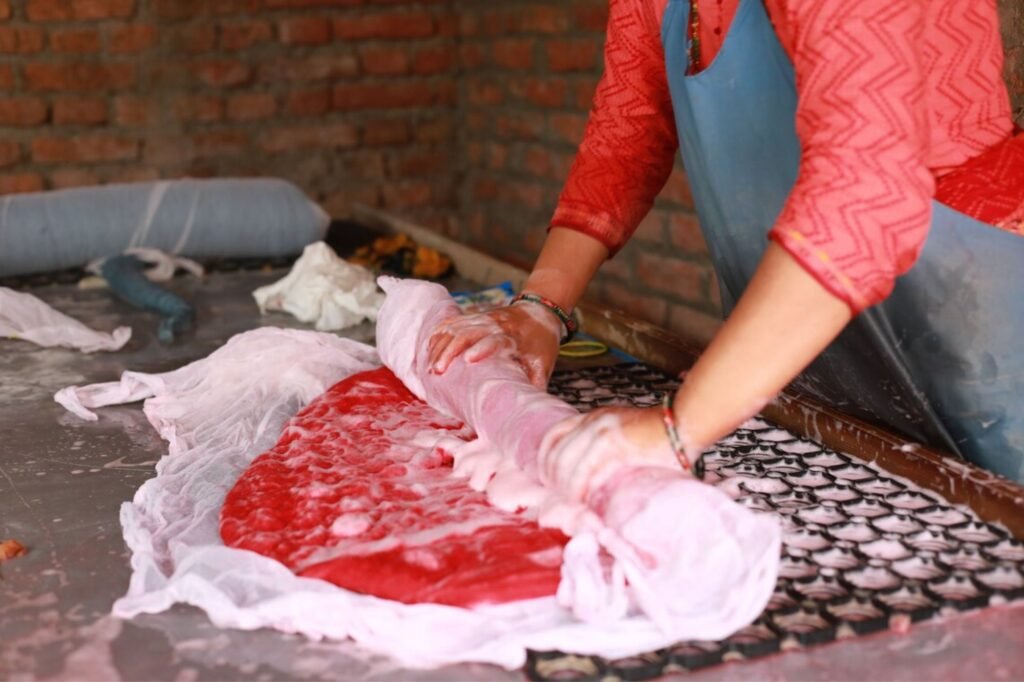
Gently fold the bubble wrap over the wool and start rubbing the surface with your hands. Apply even pressure and make circular motions.
After a few minutes of rubbing, carefully unwrap the wool, flip it over, and repeat the rubbing process on the other side.

Step 4: Fulling Process
Sprinkle a bit more soapy water on the wool and continue rubbing. As you do this, you’ll notice the wool fibers start to interlock and shrink.
Keep rubbing and rolling the wool between the bubble wrap, periodically flipping it over. This agitation process helps the fibers bond together.
Step 5: Shaping and Drying
Once your felted shape is firm and holds together well, you can start shaping it further with your hands or by pressing it against a stencil.
Rinse the felted ornament in cold water to remove any soap residue.
Gently squeeze out excess water and wrap the ornament in a towel to absorb more moisture.
Leave the ornament to air dry completely.
Step 6: Adding Details (Optional)
Once your ornament is dry, you can add details using felting needles. Carefully poke the needles into the felt to attach additional wool for decorations.
You can create designs, patterns, or even add small embellishments.
Step 7: Finishing Touches
Attach a ribbon or string to your ornament, and it’s ready to be hung on your tree or around your home. Admire your handmade creation and the joy it brings to your space!
Creating your own handmade felt ornaments is a wonderful way to infuse your holiday celebrations with creativity and personal flair. Enjoy the process of crafting something beautiful and unique to adorn your surroundings.